

PeritX™ – Placement of a tunnelled ascites drainage device
After sonography including Doppler examination to exclude relevant vessels, mark the puncture site in the lower abdomen on the LEFT. Mark the second puncture site approximately 8 cm paraumbilically.
Use of 1% scandicain to “pad” the entire tunnel.
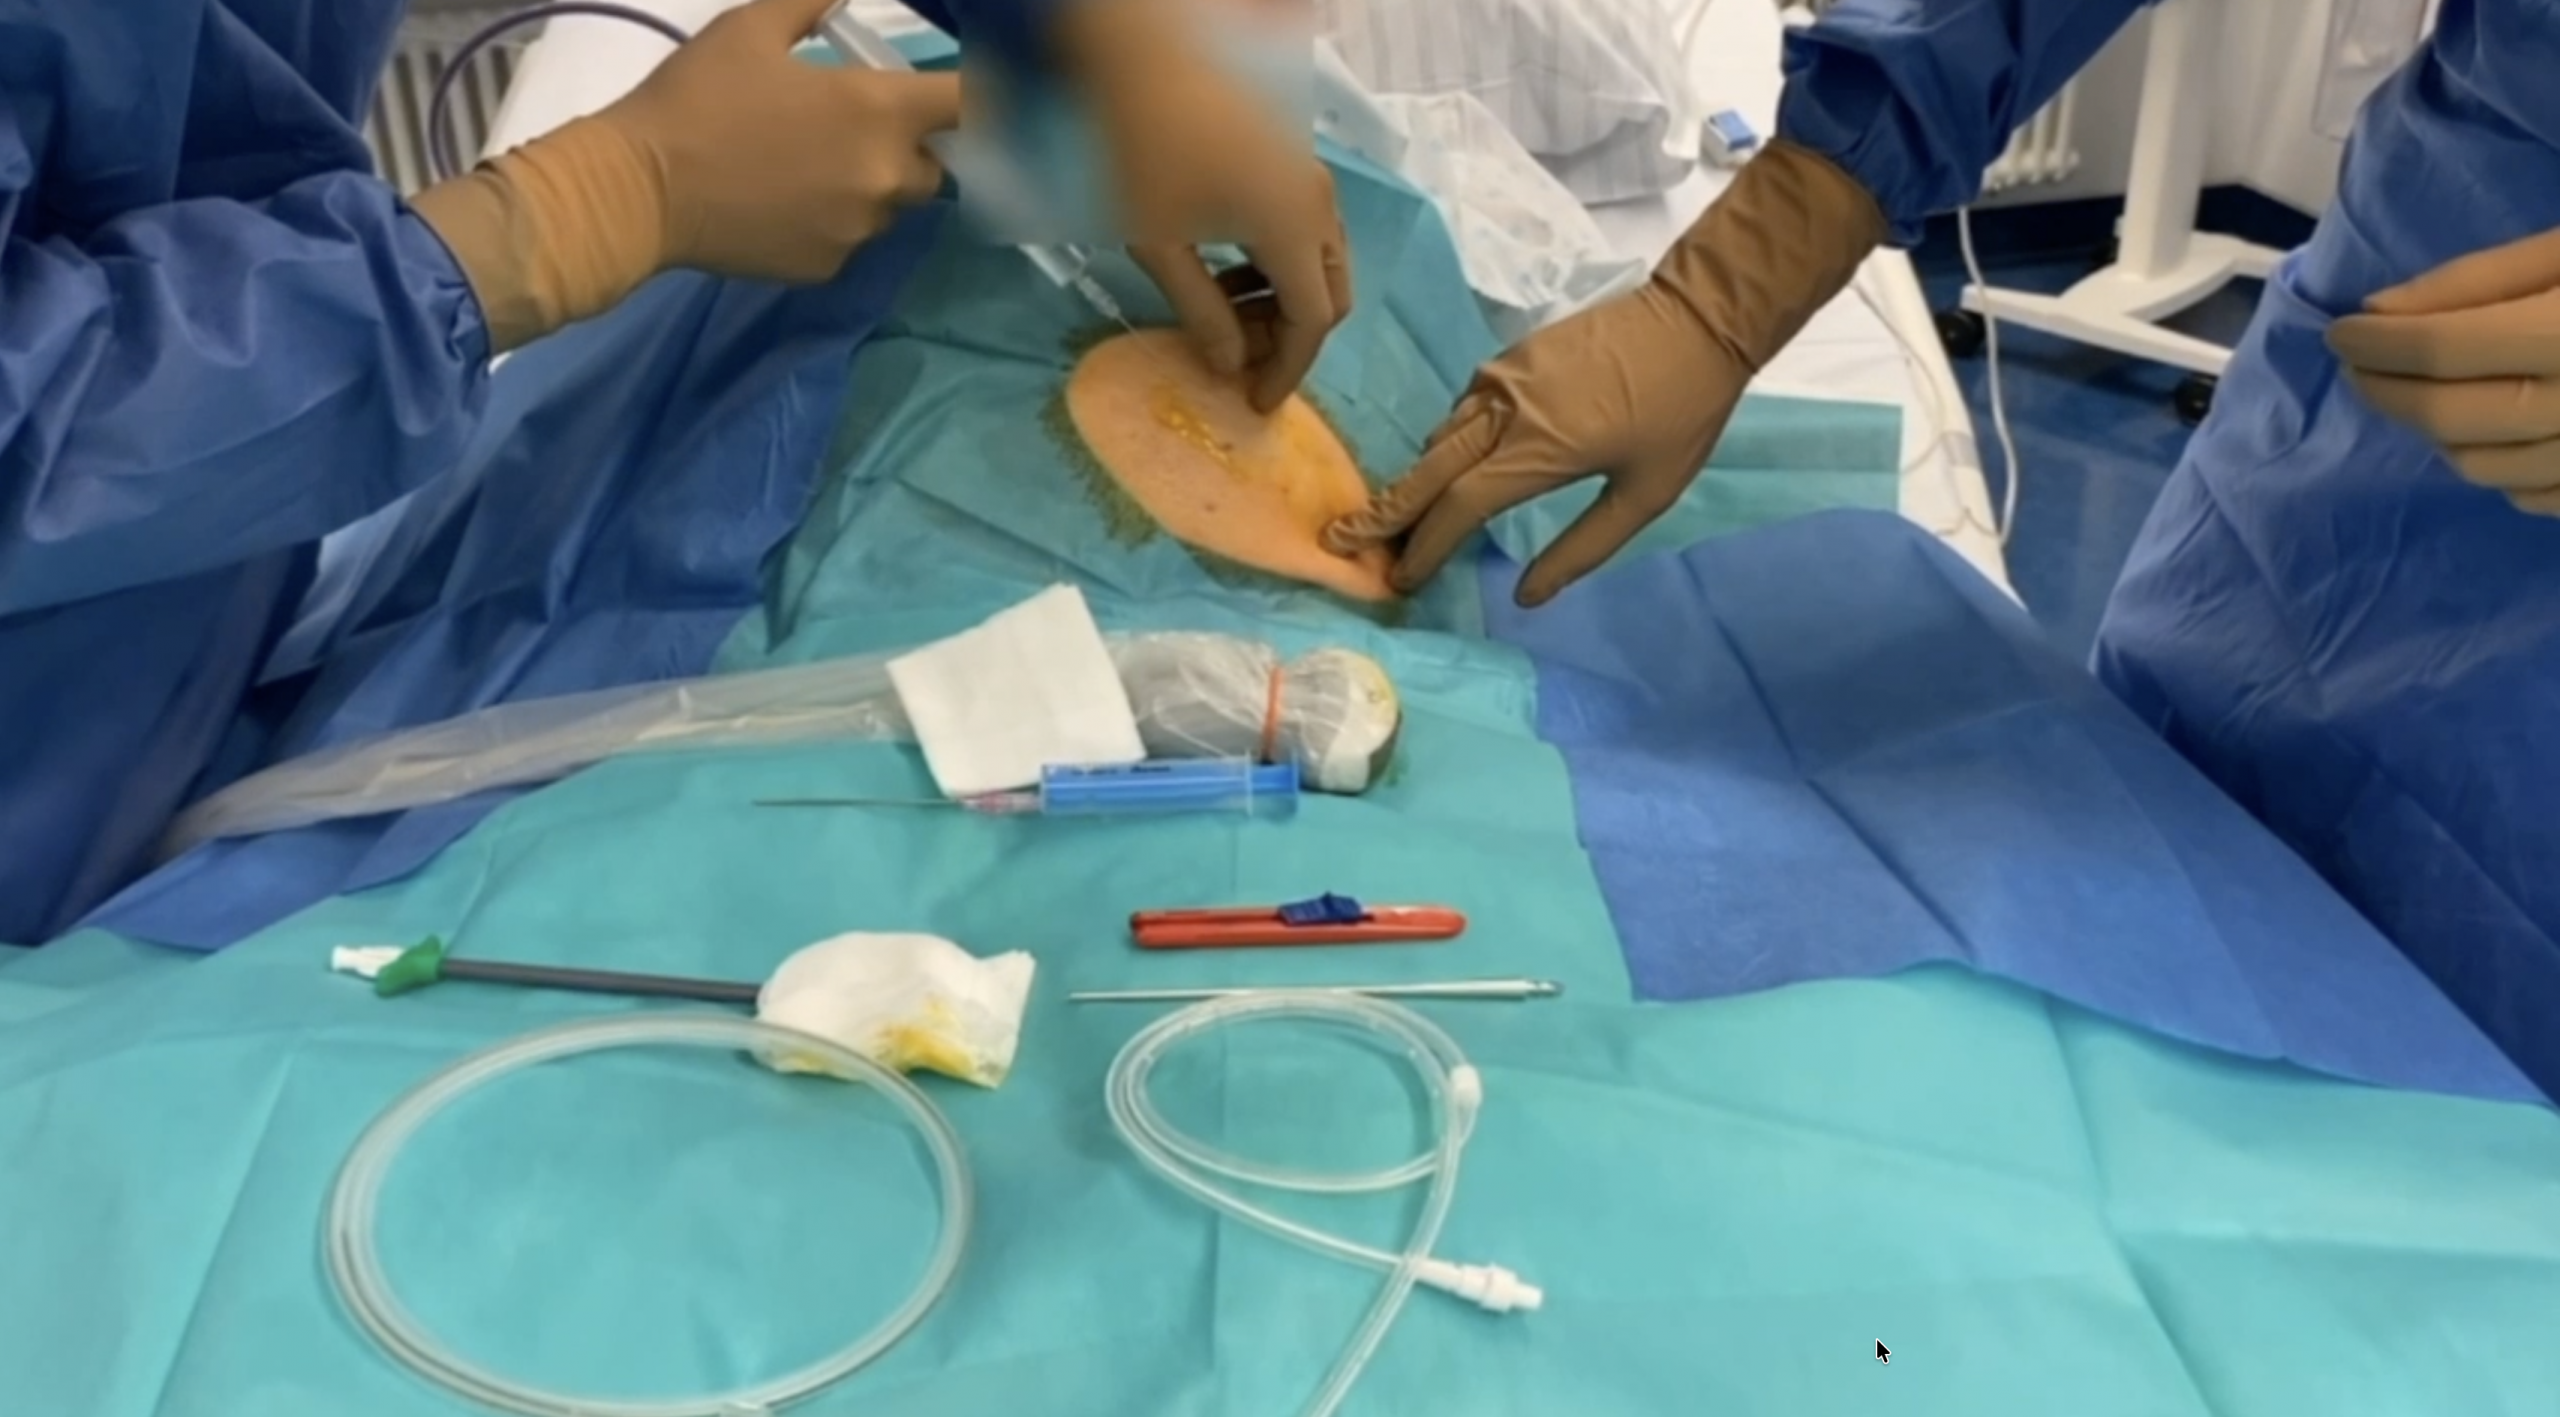
Subsequently, puncture and insertion of the guide wire into the ascites using the Seldinger technique. Using a scalpel, make approx. 1 cm long subcutaneous horizontal incisions at the entry and exit points of the tunnel with uncomplicated tunneling of the channel and passage of the tube system.
Insert the dilator via the Seldinger wire at the puncture site in the lower abdomen; after removing the guide pin, clear ascites will already be flowing out in a torrent. Gradually insert the distal end of the fenestrated tube system into the dilator’s guide system, pushing it forward constantly while pulling it apart, and finally remove the dilator completely until the tube system is fully inserted into the ascites. Ensure adequate subcutaneous tunnel entry of the tube. The cuff of the tube system should be positioned approximately 1 cm distal to the upper entry point of the tube.
Finally, suture the incisions with single button sutures.